Drip irrigation is widely recognized as the most water-efficient way to nurture your crops, orchard, or garden. By delivering water directly to the plant’s root zone, a properly designed drip irrigation system can reduce water waste and improve irrigation uniformity.
However, the success of your entire system hinges on one critical step: installing your drip irrigation emitters (drippers) correctly. Incorrect installation can lead to clogged lines, uneven water distribution, and underwatered plant roots.
In this guide, we’ll walk you through the complete process of installing drip irrigation drippers, from planning your layout to punching the holes and securing your emitters.
1.Plan Your Layout & Gather Tools:Prerequisite。
Map out your garden or field. Determine where your plants are and what their water needs are. You will need: PE tubing, drip irrigation emitters (such as SEAPEAK PC Online Drippers), a professional tubing hole punch tool, and end caps.
2.Lay Out the Tubing:10-15 mins。
Roll out your mainline PE tubing along your plant rows.
Pro Tip: Let the tubing sit in the sun for 30 minutes before laying it out. The warmth makes the plastic more pliable and significantly easier to work with.
3.Punch Holes Cleanly:10 seconds per hole。
Using a dedicated 3mm or 4mm tubing punch, press firmly into the tubing until you hear a "pop." Make sure to punch straight down at a 90-degree angle to avoid creating an oval-shaped hole, which can cause leaks.
4.Insert the Dripper Barb:5 seconds per dripper。
Take your online dripper—or an arrow dripper for localized root-zone watering—and push the barbed connection straight into the prepared tubing or adapter.
5.Flush and Seal the Line:5 mins。
Before putting the end caps on your tubing, turn on the water for 1 minute to flush out any plastic shavings or dirt that fell inside during the punching process. Once the line is clean, seal it with a figure-8 closure or a suitable drip line end cap.
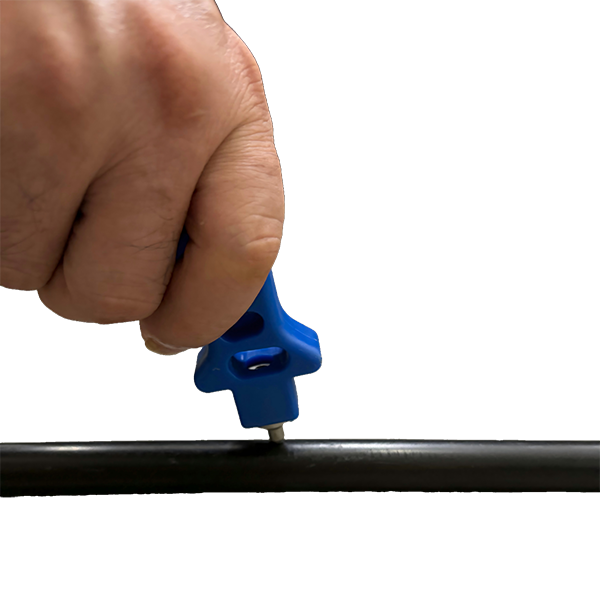
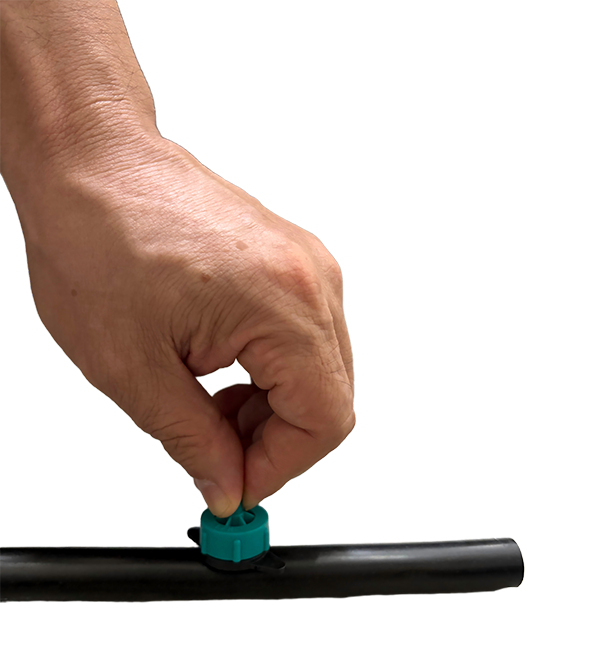
Inserting a drip irrigation emitter directly into PE lateral tubing.
Even with the right tools, placing your emitters in the wrong spot can hurt your plants. Keep these rules of thumb in mind:
1. Placing Emitters Too Far from the Root Zone: Emitters must deliver water directly where the roots can reach it. For small plants, place the dripper within 3 to 6 inches of the stem.
2. Not Accounting for Soil Type: In sandy soil, water moves almost straight down. You will need closely spaced drippers (e.g., every 12 inches). In clay soil, water spreads out horizontally, meaning you can space your drippers wider.
3. Leaving the System Unflushed: Skipping Step 5 is the #1 cause of newly installed systems clogging immediately. Always flush the system before closing the ends!
 English
 Español
 русский
 العربية